Requirements
This tutorial will show you how to manage your ORS on the Rapid.Space panel.
Join your project on panel.rapid.space
You must first join your project on panel.rapid.space with the invitation link given in the email. Please make sure you are already logged in with your account before clicking the link.
If you do not have the link anymore or if it expires, please ask us and we will send you another one.
Find your services

In the "Services" section, you will find by default:
- orsXX-enb, orxXX-gnb and orsXX-core-network: eNB, gNB and Core Network services running Amarisoft Stack
- orsXX-conference and orsXX-mail-server: PTT Video Conference and Mail Servers, please refer to the MCPTT tutorial
- orsXX-health: here you will find many promises to check the health of your ORS machine such as CPU temperature. We strongly recommend you keep this started as we also use this service to monitor all ORS on the panel.
By default, only one eNB or gNB service will be started, you should not run multiple gNB or eNB services at the same time as ORS can only run one at a time.
Here is the meaning of the "Status" button:
- Green means the service is currently running without any errors
- Orange or red means the service is running but has some errors (a following section will show you how to investigate)
- Grey means the service is stopped.
Find the server corresponding to your ORS

In the "Server" section, you will find an entry corresponding to your ORS. This represents the physical ORS. If the "Node" status is green, it means your ORS is connected to internet. If the "Partitions" status is green, it means all softwares have been correctly installed on the ORS, if it is orange or red it means a software had trouble installing itself.
Find your project

In the "Projects" section, you will your project. After clicking on your project, you will see your two ORS services and the server corresponding to your ORS from the previous sections. Projects allows you to give people access to your services and servers by inviting them. To invite someone, generate an invitation link by clicking on the Invite User button.
Contract deactivated warning

When clicking on your ORS service, you might see a message warning you your contract is deactivated. The contract needs to be activated if you want to request services yourself, but it is otherwise not needed for ORS management. Please contact us if you want to activate it.
Switch between 4G and 5G

To switch between LTE and NR, you can stop and start the enb and gnb services. First click on the service in "Services" section, then click on the Start / Stop button, then click Proceed button. Both services should not be started at the same time as ORS do not support 4G and 5G simultaneously.
Change the power, frequency, bandwidth, TDD UL/DL, etc...

By default, all your services are configured with default parameters which should allow you to connect a phone without issue. However, you may want to customize these parameters to suit your needs.
You can modify the parameters of your service by going to your service page and scrolling down to the parameter list. Please read the sections below to get more details.
Adjust RF Power of your ORS (TX)
The first parameter you may want to change is the Transmission power (TX Gain), this controls how much power your ORS is emitting.
TX Gain should be set to a number between 0 and 89, everytime you increase it by 3 the power approximately doubles.
Please refer to this page to see a mapping of TX Gain to power depending on your ORS version: RF Power vs TX Gain
Adjust RF Power of your ORS (RX)
It is important to make sure your reception levels are high enough to communicate with UE properly but not too high to get saturated. If you have antennas around you emitting in the same frequency you might have to lower RX Gain or change the frequency to avoid the signal getting saturated.
To adjust the reception power, you can modify the RX gain parameter, it works the same way as TX gain and requires a value between 0 and 89.
To know which value to put, you need to check the outputs of the "check-rx-staturated" promise which will give you the reception levels received by both antennas of your ORS in real time. These values should be always be below 0 and should be around -10. Please read below the sections "Monitor your ORS" to learn how to read these values.
Adjust Central Frequency
To adjust the frequency at which you are emitting, you need to modify the DL EARFCN (Downlink E-UTRA Absolute Radio Frequency Channel Number, for 4G) or DL NR ARFCN (for 5G) parameters. You can use websites such as 5G Tools to calculate the DL EARFCN and DL NR ARFCN values from the frequency. Please make sure you do not go beyond the frequency range of your ORS. For instance, if you configure 1900 MHz as central frequency with 20MHz bandwidth your ORS will be emitting between 1890 MHz and 1910 MHz.
Other parameters to adjust
Here are some examples of other parameters you can change for the eNB/gNB and EPC software type:
- (NR only) NR band
- Bandwidth (20 MHz maximum for 4G and 40 MHz maximum for 5G)
- Cell ID, gNB ID, gNB ID number of bits, Physical Cell ID
- PLMN: 00101 by default, adding one changes the default PLMN and you can add as many as you want
- TDD Uplink / Downlink ratio: you can choose our maximum uplink configuration in 5G to get the highest uplink ratio, or ask us for more TDD configurations
- etc...
Add SIM Card

To add a SIM Card, please go to your core network service and click "Add shared", then enter a title and all the SIM information (you can modify this later), and click "Proceed".
If you would like to check your SIM card has been added correctly search for the SIM card you just created (using the title you entered previously), and wait and refresh the page until you see "Your SIM card with IMSI XXXX has been attached to service orsXX-core-network."
Add a service

By default, your ORS already has one NR and one LTE service. It is also possible to add services yourself by clicking on the "Add" button in the "Services" section of panel.rapid.space as shown here.
Add a service - Select Software
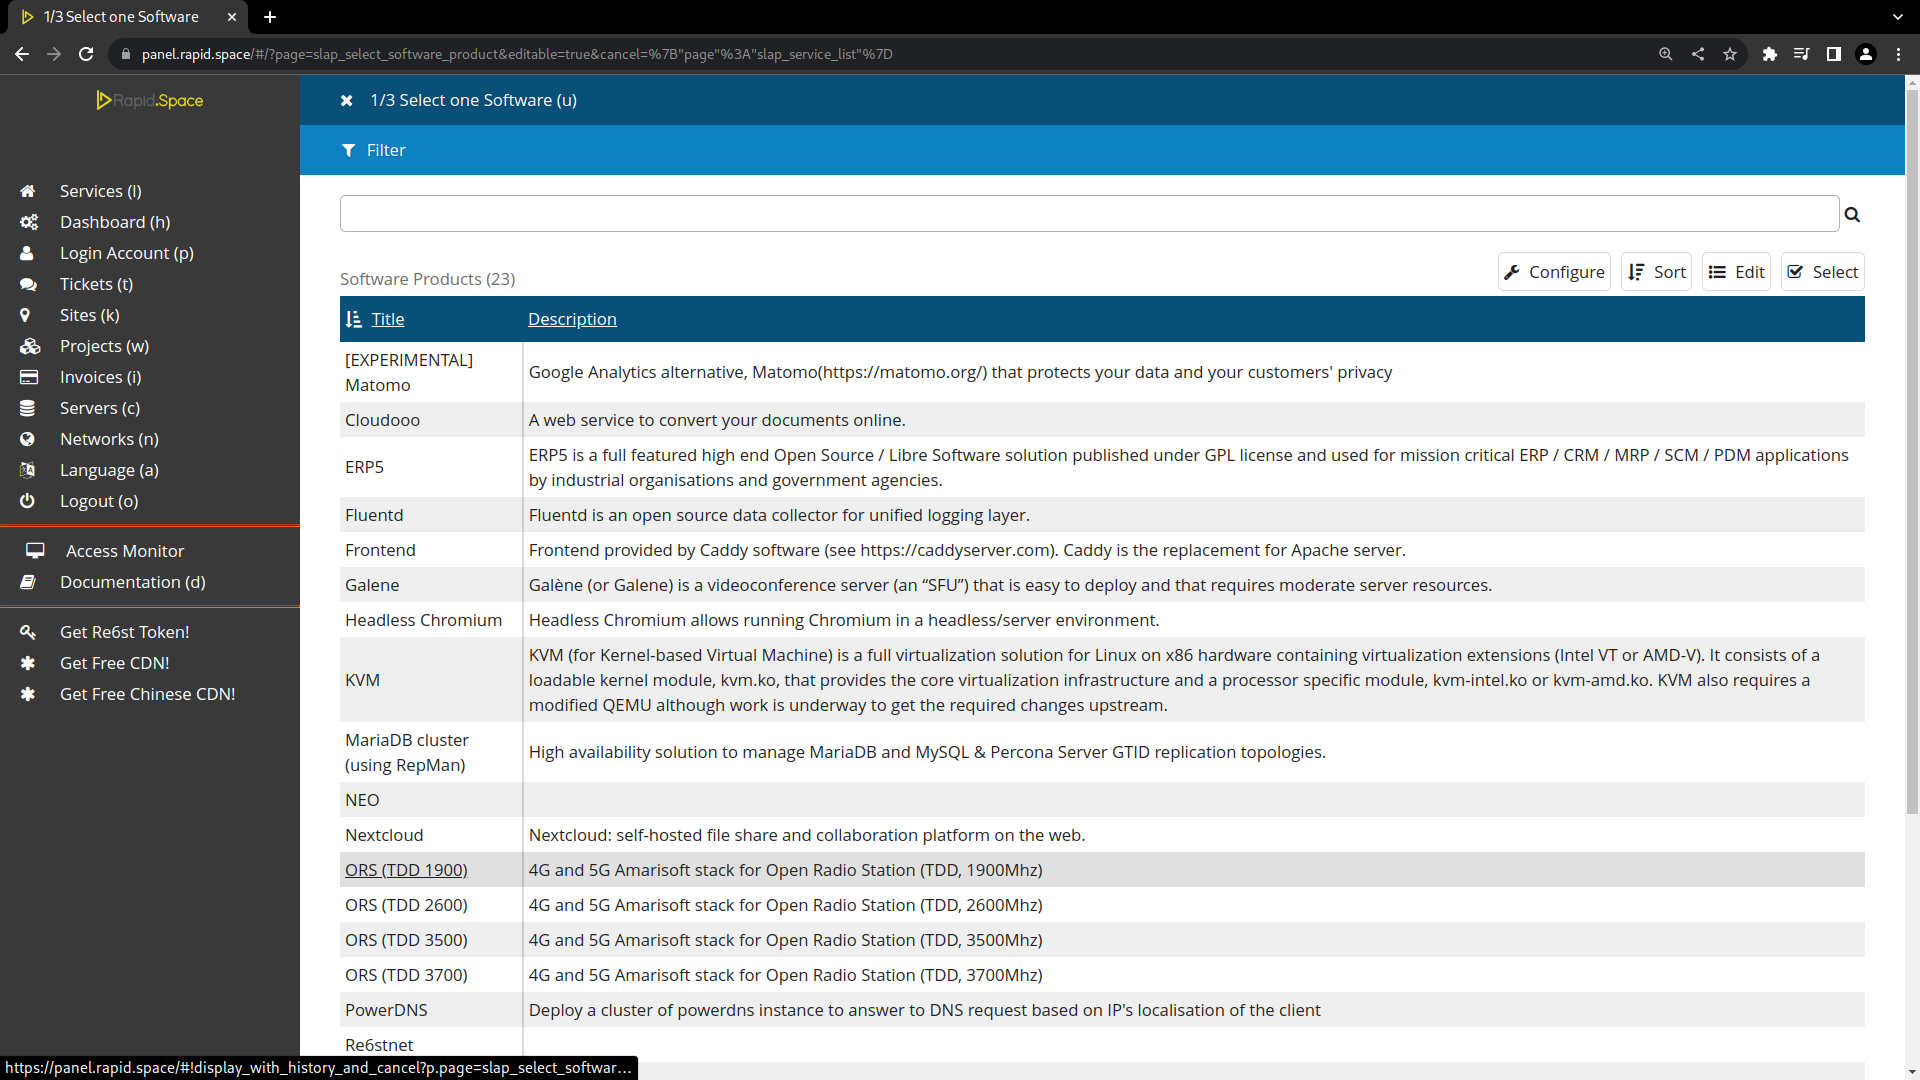
First you need to select the software, here are some software which can be used on ORS:
- Galene: Will run a videoconference server on your ORS, you can then make local videoconferences on your private 4G/5G network with your UEs
- SlapOS IDE (using Theia): Web IDE which you can use to integrate and test softwares of your own on the ORS
- ORS (TDD XXXX): 4G and 5G Amarisoft stack for frequency XXXX
Add a service - Select Software Type

Next you need to input a Title for your service and select the software type. Here are the different possible software types on ORS:
- gNB/eNB: will run a gNodeB (5G) or eNodeB (4G) on your ORS
- Core Network: will run a local core network which will automatically connect to any gNB/eNB service you have running, or can be connected to external gNB/eNB
The other software types are for special uses.
Add a service - Choose your server

Finally you need to select which ORS you want to request the service on.
Service list

Then, after refreshing the Services section you should see your service in the list. It will initally be red until everything is properly initialized. This can take up to 30mn for a fully functional service with monitoring.
Transfer your service

If you want other people with different account to access the service you added, please transfer it first to your project by clicking on the service and clicking the Transfer button as shown here.
Transfer your service

Next, select your project.
Add a service

Then, click on Proceed to confirm the transfer. The service will then be in your project and accessible to everyone who has joined the project.